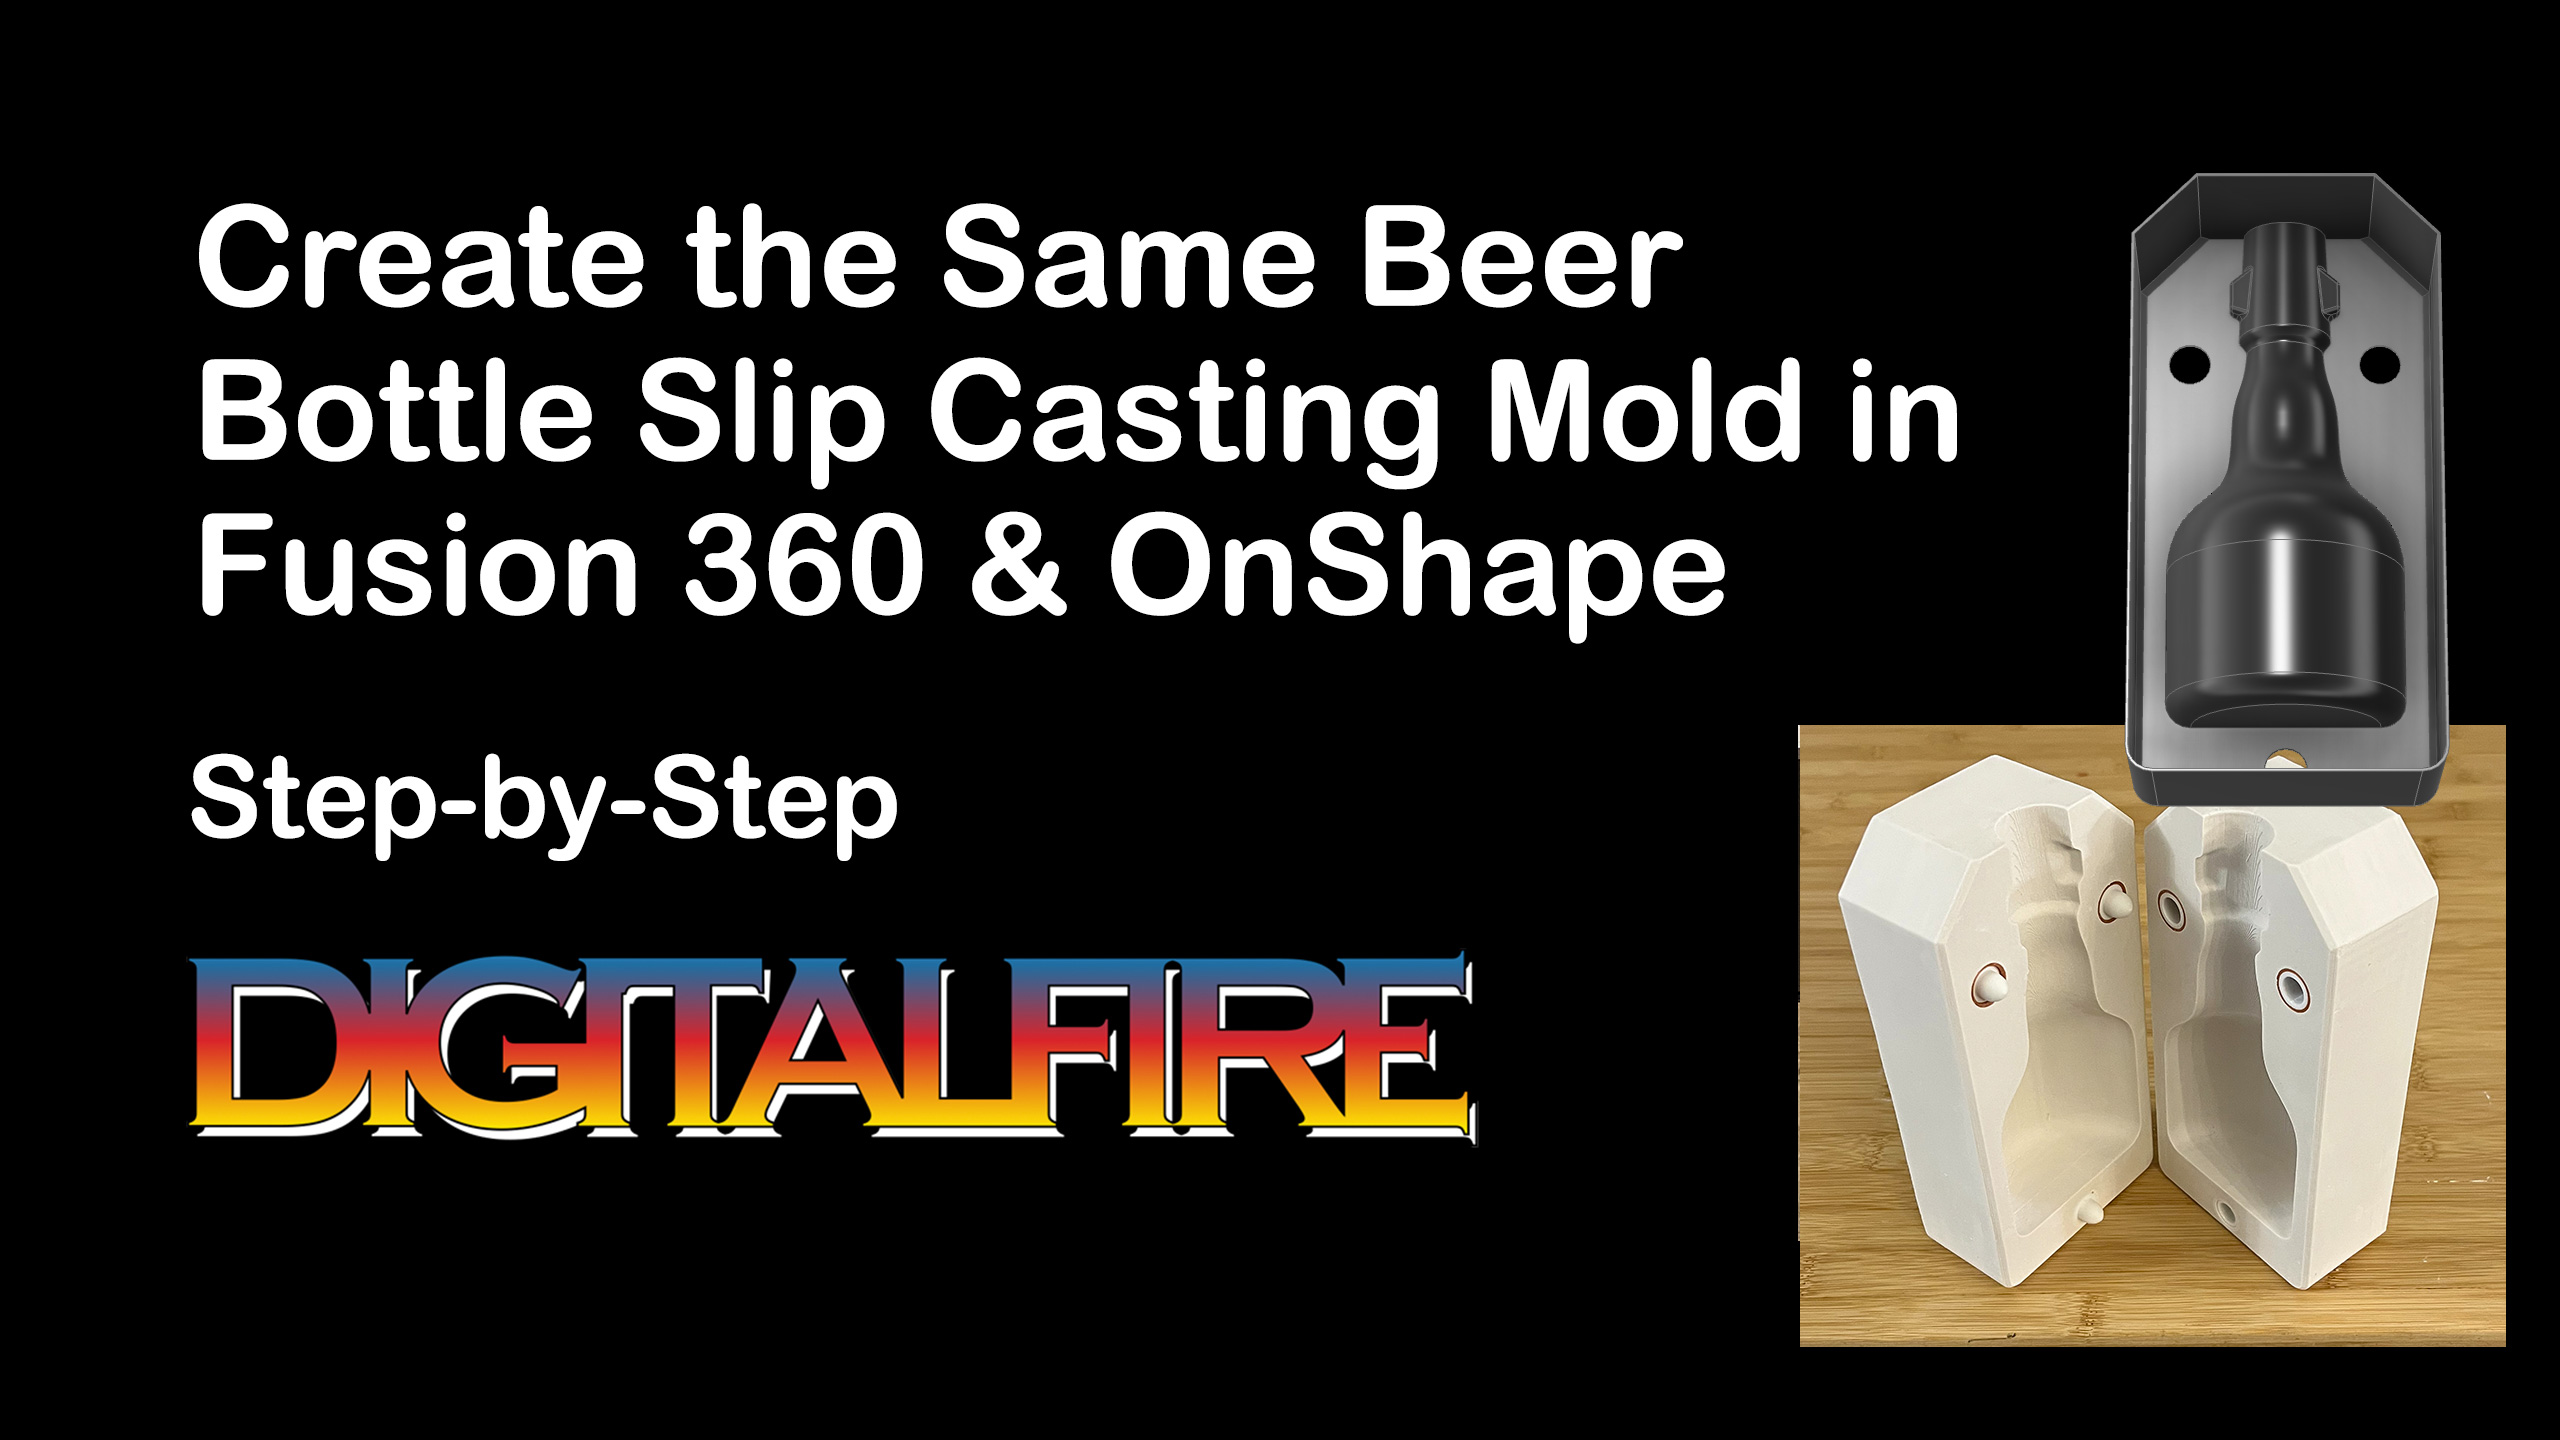
Classic Medalta Potteries Beer Bottle
Make this mold using OnShape and Fusion 360
The original bottles were hand-thrown and very thick and heavy. These are perfect candidates for slip casting.
Drawing and 3D printing a case mold became my first success using OnShape. CAD is difficult, I really needed a tutorial that explained OnShape in terms of Fusion 360 I already knew. There wasn’t one! Now there is. This new procedure I have developed supersedes all of what I have done so far with beer bottle molds.
This is a test mold. This mold weighs 87g and the walls are printed to only 0.8mm thickness. We just pour in the plaster and remove this PLA print using a heat gun. Two natches are sufficient to keep the halves aligned perfectly. Pieces will shrink about 12%, thus this larger size. We will use a cone 6 casting body, tissue transfers for the decorations, the GA6-B glaze for the inside and shoulder and G2926B transparent for the body.

Videos
 |
Same Beer Bottle Mold Using Fusion 360 and OnShape CAD
I will make a classic Medalta beer bottle case-mold for 3D printing using OnShape CAD (just pour in plaster and you have a mold to slip cast bottles). I will highlight the differences between OnShape and Fusion 360 as we go. |
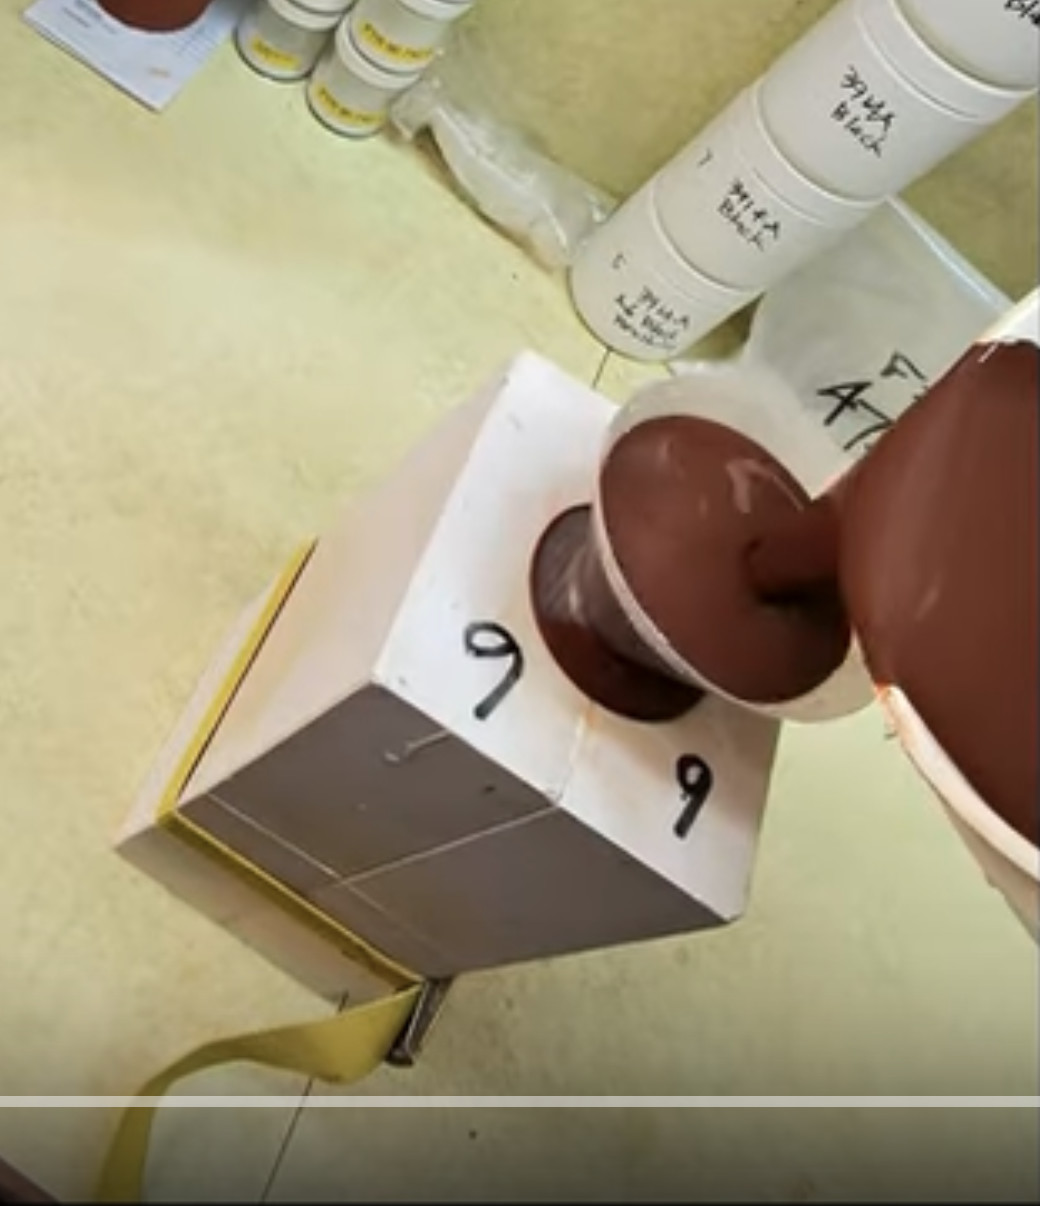 |
Slip cast a stoneware beer bottle
I will mix the slurry, assemble the mold, attach the 3D-printed pour spot, pour in the slip, pour it out, remove the spout, trim the lip, split the mold, extract the bottle and drill the holes for the swing-top stoppers. |
Links
| Projects |
Beer Bottle Master Mold via 3D Printing
A project that took several years of failures and blind allies and is finally coming together - so much simpler than expected! |
 PayPal | No tracking, No ads, No paywall, No transient content! Just organized, concise information constantly updated and improved. Was this helpful? Consider supporting me. |
Got a Question?
Buy me a coffee and we can talk 

https://digitalfire.com, All Rights Reserved
Privacy Policy