| Monthly Tech-Tip | No tracking! No ads! |
Layer slayers and jar junkies
Commercial brushing glazes have made it possible for hobbyists to glaze pottery on the kitchen table. But, the layering craze has seen these bottled products migrate into pottery studios and schools. In the minds of most, the glitter of layering trumps all of the advantages of DIY glazes. The "glam" of multiple layers often makes even the ugliest pot saleable. Here is the kind of pots an AI ChatBot told me it thinks we are making now:
- "Brush 'n Buffs" rely on lots of brush-on glaze layers for visual effect rather than technical finesse in form or glazing.
- "Gloss-Bosses" lean heavily on glossy, vibrant finishes to draw attention, often brushing up the prices to match.
- "Glaze Blazers" blaze a trail through high-end glazes to make a statement piece without much focus on craftsmanship.
- "Layer Slayers" layer glazes for that ‘artistic look’ rather than achieving mastery of the basics.
- "Jar Junkies" depend on store-bought, premixed jars to give their work aesthetic appeal.
- "Shelf Shockers" make pottery that looks striking on the shelf but might lack structural or functional finesse.
- "Costly Coaters" coat basic pieces in costly glazes, inflating prices as if each layer adds value.
- "Glitz Potters" put emphasis on glittery, glamorous finishes over solid craftsmanship.
- "Kiln Thrillers" focus looks alone, with beginners banking on decorative glazes for appeal.
- "Palette Pushers" pile on color layers as if painting rather than carefully curating glazes for effect.
AI generated picture and text to a prompt asking about the type of ware commonly made by potters and hobbyists who do layering of commercial bottled glazes (and some terms describing the trends).
Related Pictures
DIY glazes can do something commercial ones cannot:
Go on evenly, in one coat and dry in seconds.

This picture has its own page with more detail, click here to see it.
Commercial brushing glazes are laced with CMC gum to make them paint on thin and dry slowly. Why would anyone want that? Layering. Brushing on layers takes time and it is difficult to get even coverage, but it justifies brushing up the prices also!
What if you are not a "layer slayer" and want the opposite of all of that: Go on thick enough at one go, dry in seconds and apply super even. DIY potters have that ability by making thixotropic dipping glazes. You cannot buy these because the gum kills thixotropy. Thixotropic glazes are fluid in the bucket but gel after a few seconds of standing. This enables really good dipping properties - the gelling enables the glaze to stay in place upon extraction from the bucket. This picture demonstrates how such glazes hang on to even a non-absorbent and wet surfaces.
Bottom: Extreme thixotropy. The spatula is held vertical by gelling only. Yet when this slurry is put in motion, it is fluid!
Top left and right: These spatulas were slowly extracted and the engobe and glaze just hang on in a perfectly even layer. On a bisque surface, the glaze dries quickly, within seconds. And the engobe hangs on to leather hard ware for perfect coverage, even around sharp contours.
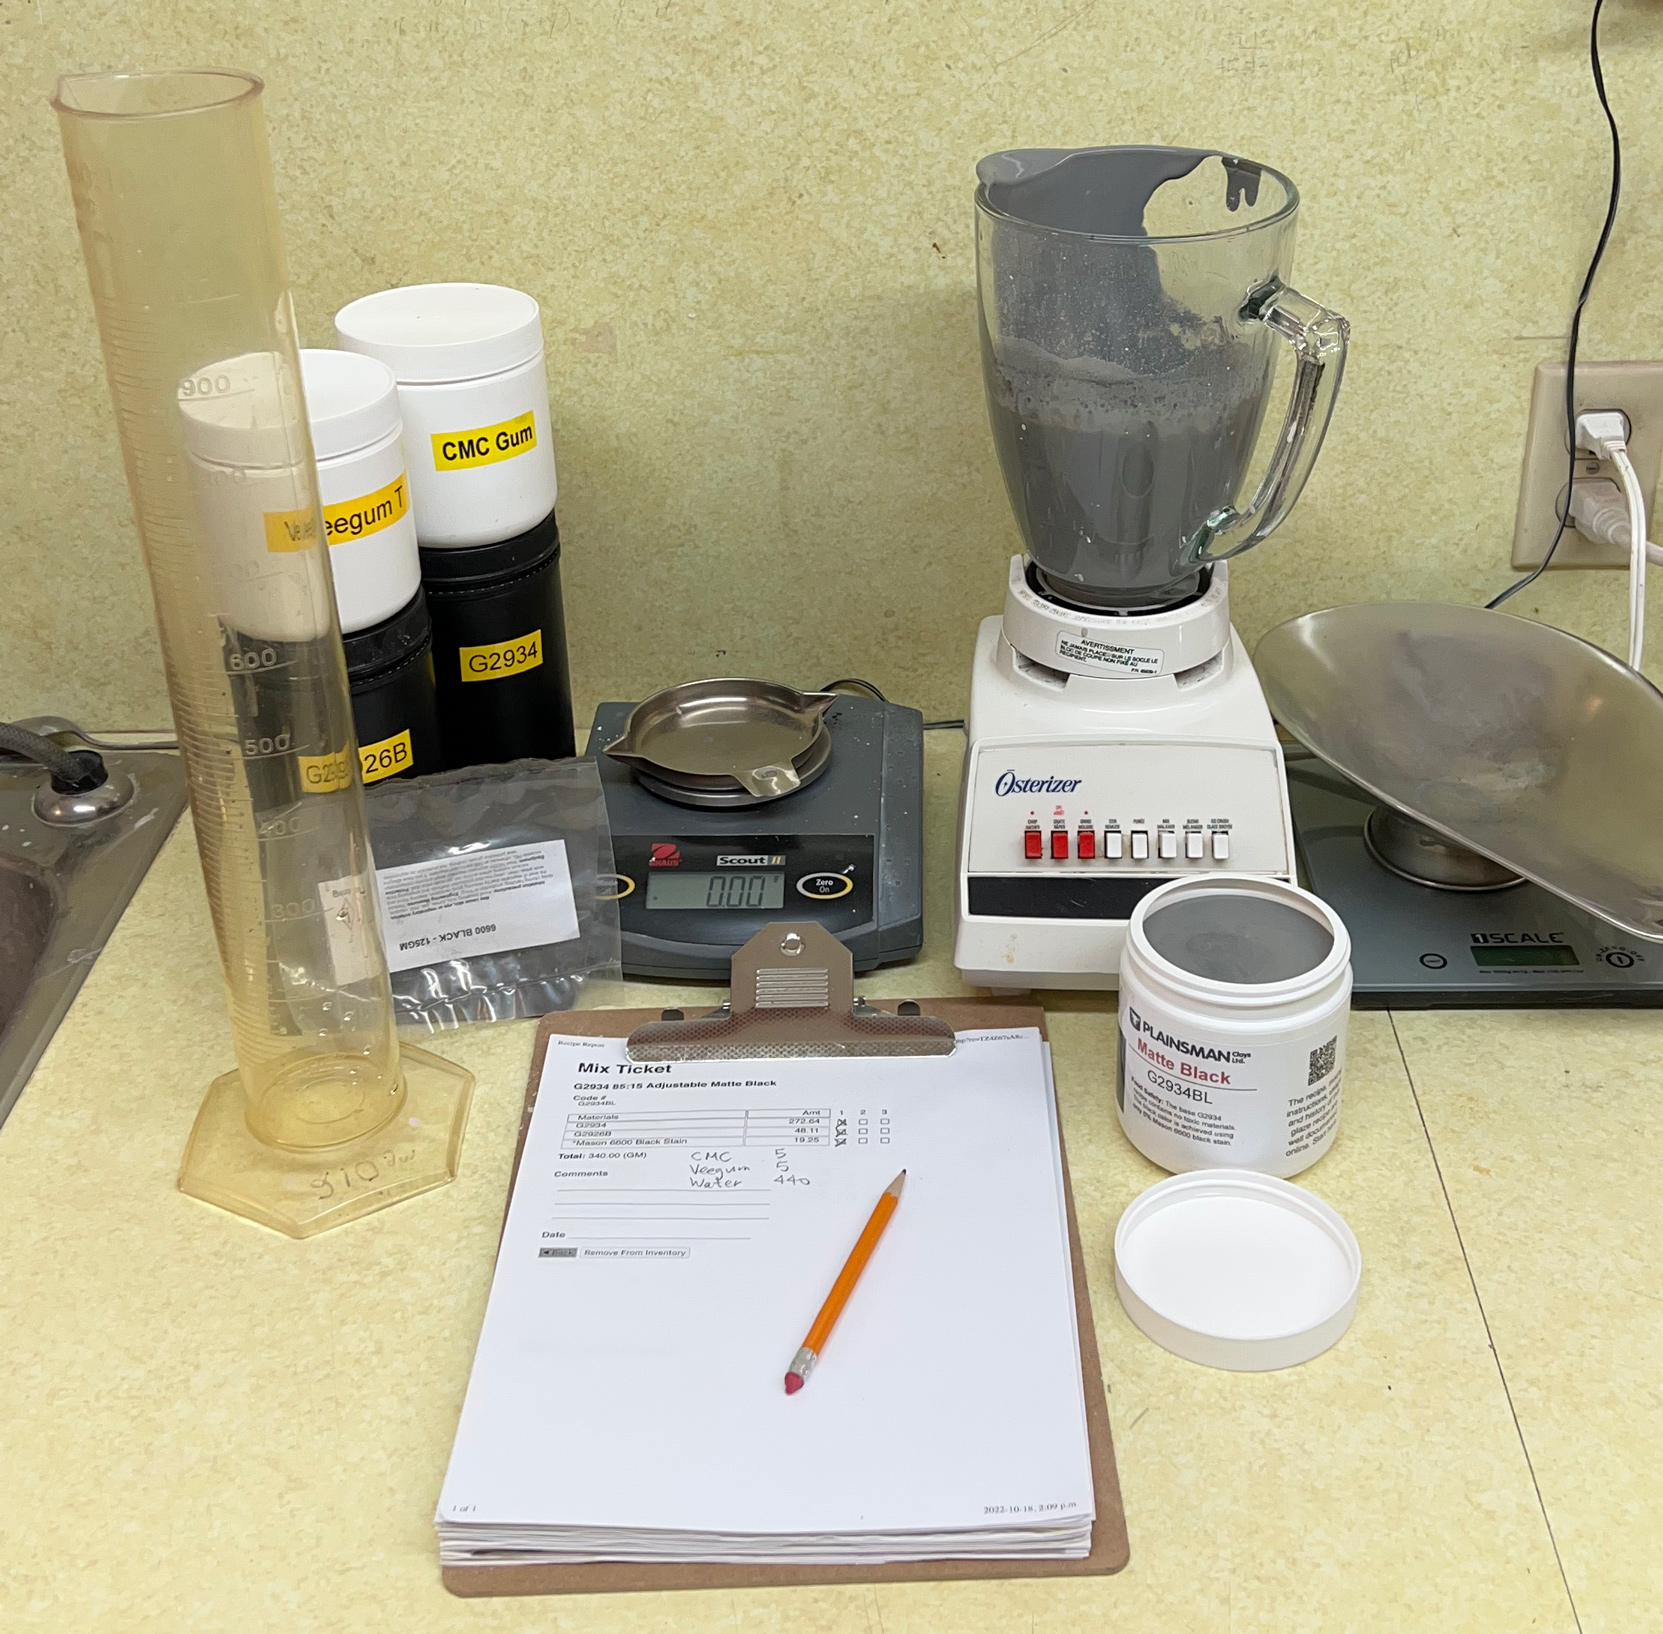
Here is my setup to make brushing glazes and underglazes by-the-jar

This picture has its own page with more detail, click here to see it.
Although I promote DIY dipping glazes, you can also make DIY brushing glazes. Let's make a low SG version of G2934BL. Weigh out a 340g batch of dipping glaze powder. Include 5g Veegum (to gel the slurry to enable more than normal water) and 5g CMC gum (to slow drying and impart brushing properties). Measure 440g of water initially (adjusting later if needed). Shake-mix all the powder in a plastic bag. Pour it into the water, which is blender mixing on low speed, and finish with 20 seconds on high speed. This just fills a 500ml jar. In subsequent batches, I adjust the Veegum for more or less gel, the CMC for slower or faster drying and the water amount for thicker or thinner painted layers. Later I also assess whether the CMC gum is being degraded by microbial attack - often evident if the slurry thins and loses its gel. Dipping glaze recipes can and do respond differently to the gums. Those having little clay content work well (e.g. reactive and crystalline glazes). If bentonite is present it is often best to leave it out. Recipes having high percentages of ball clay or kaolin might work best with less Veegum. Keeping good notes (with pictures) is essential to reach the objective here: Good brushing properties. We always use code-numbering (in our group account at Insight-live.com) and write those on the jars and test pieces. This is so worthwhile doing that I make quality custom labels for each jar!
Got a Question?
Buy me a coffee and we can talk

https://digitalfire.com, All Rights Reserved
Privacy Policy

