A Low Cost Tester of Glaze Melt Fluidity
A One-speed Lab or Studio Slurry Mixer
A Textbook Cone 6 Matte Glaze With Problems
Adjusting Glaze Expansion by Calculation to Solve Shivering
Alberta Slip, 20 Years of Substitution for Albany Slip
An Overview of Ceramic Stains
Are You in Control of Your Production Process?
Are Your Glazes Food Safe or are They Leachable?
Attack on Glass: Corrosion Attack Mechanisms
Ball Milling Glazes, Bodies, Engobes
Binders for Ceramic Bodies
Bringing Out the Big Guns in Craze Control: MgO (G1215U)
Can We Help You Fix a Specific Problem?
Ceramic Glazes Today
Ceramic Material Nomenclature
Ceramic Tile Clay Body Formulation
Changing Our View of Glazes
Chemistry vs. Matrix Blending to Create Glazes from Native Materials
Concentrate on One Good Glaze
Copper Red Glazes
Crazing and Bacteria: Is There a Hazard?
Crazing in Stoneware Glazes: Treating the Causes, Not the Symptoms
Creating a Non-Glaze Ceramic Slip or Engobe
Creating Your Own Budget Glaze
Crystal Glazes: Understanding the Process and Materials
Deflocculants: A Detailed Overview
Demonstrating Glaze Fit Issues to Students
Diagnosing a Casting Problem at a Sanitaryware Plant
Drying Ceramics Without Cracks
Duplicating Albany Slip
Duplicating AP Green Fireclay
Electric Hobby Kilns: What You Need to Know
Fighting the Glaze Dragon
Firing Clay Test Bars
Firing: What Happens to Ceramic Ware in a Firing Kiln
First You See It Then You Don't: Raku Glaze Stability
Fixing a glaze that does not stay in suspension
Formulating a body using clays native to your area
Formulating a Clear Glaze Compatible with Chrome-Tin Stains
Formulating a Porcelain
Formulating Ash and Native-Material Glazes
G1214M Cone 5-7 20x5 glossy transparent glaze
G1214W Cone 6 transparent glaze
G1214Z Cone 6 matte glaze
G1916M Cone 06-04 transparent glaze
Getting the Glaze Color You Want: Working With Stains
Glaze and Body Pigments and Stains in the Ceramic Tile Industry
Glaze Chemistry Basics - Formula, Analysis, Mole%, Unity
Glaze chemistry using a frit of approximate analysis
Glaze Recipes: Formulate and Make Your Own Instead
Glaze Types, Formulation and Application in the Tile Industry
Having Your Glaze Tested for Toxic Metal Release
High Gloss Glazes
Hire Us for a 3D Printing Project
How a Material Chemical Analysis is Done
How desktop INSIGHT Deals With Unity, LOI and Formula Weight
How to Find and Test Your Own Native Clays
I have always done it this way!
Inkjet Decoration of Ceramic Tiles
Is Your Fired Ware Safe?
Leaching Cone 6 Glaze Case Study
Limit Formulas and Target Formulas
Low Budget Testing of Ceramic Glazes
Make Your Own Ball Mill Stand
Making Glaze Testing Cones
Monoporosa or Single Fired Wall Tiles
Organic Matter in Clays: Detailed Overview
Outdoor Weather Resistant Ceramics
Painting Glazes Rather Than Dipping or Spraying
Particle Size Distribution of Ceramic Powders
Porcelain Tile, Vitrified Tile
Rationalizing Conflicting Opinions About Plasticity
Ravenscrag Slip is Born
Recylcing Scrap Clay
Reducing the Firing Temperature of a Glaze From Cone 10 to 6
Setting up a Clay Testing Program in Your Company or Studio
Simple Physical Testing of Clays
Single Fire Glazing
Soluble Salts in Minerals: Detailed Overview
Some Keys to Dealing With Firing Cracks
Stoneware Casting Body Recipes
Substituting Cornwall Stone
Super-Refined Terra Sigillata
The Chemistry, Physics and Manufacturing of Glaze Frits
The Effect of Glaze Fit on Fired Ware Strength
The Four Levels on Which to View Ceramic Glazes
The Majolica Earthenware Process
The Potter's Prayer
The Right Chemistry for a Cone 6 Magnesia Matte
The Trials of Being the Only Technical Person in the Club
The Whining Stops Here: A Realistic Look at Clay Bodies
Those Unlabelled Bags and Buckets
Tiles and Mosaics for Potters
Toxicity of Firebricks Used in Ovens
Trafficking in Glaze Recipes
Understanding Ceramic Materials
Understanding Ceramic Oxides
Understanding Glaze Slurry Properties
Understanding the Deflocculation Process in Slip Casting
Understanding the Terra Cotta Slip Casting Recipes In North America
Understanding Thermal Expansion in Ceramic Glazes
Unwanted Crystallization in a Cone 6 Glaze
Using Dextrin, Glycerine and CMC Gum together
Volcanic Ash
What Determines a Glaze's Firing Temperature?
What is a Mole, Checking Out the Mole
What is the Glaze Dragon?
Where do I start in understanding glazes?
Why Textbook Glazes Are So Difficult
Working with children
Description
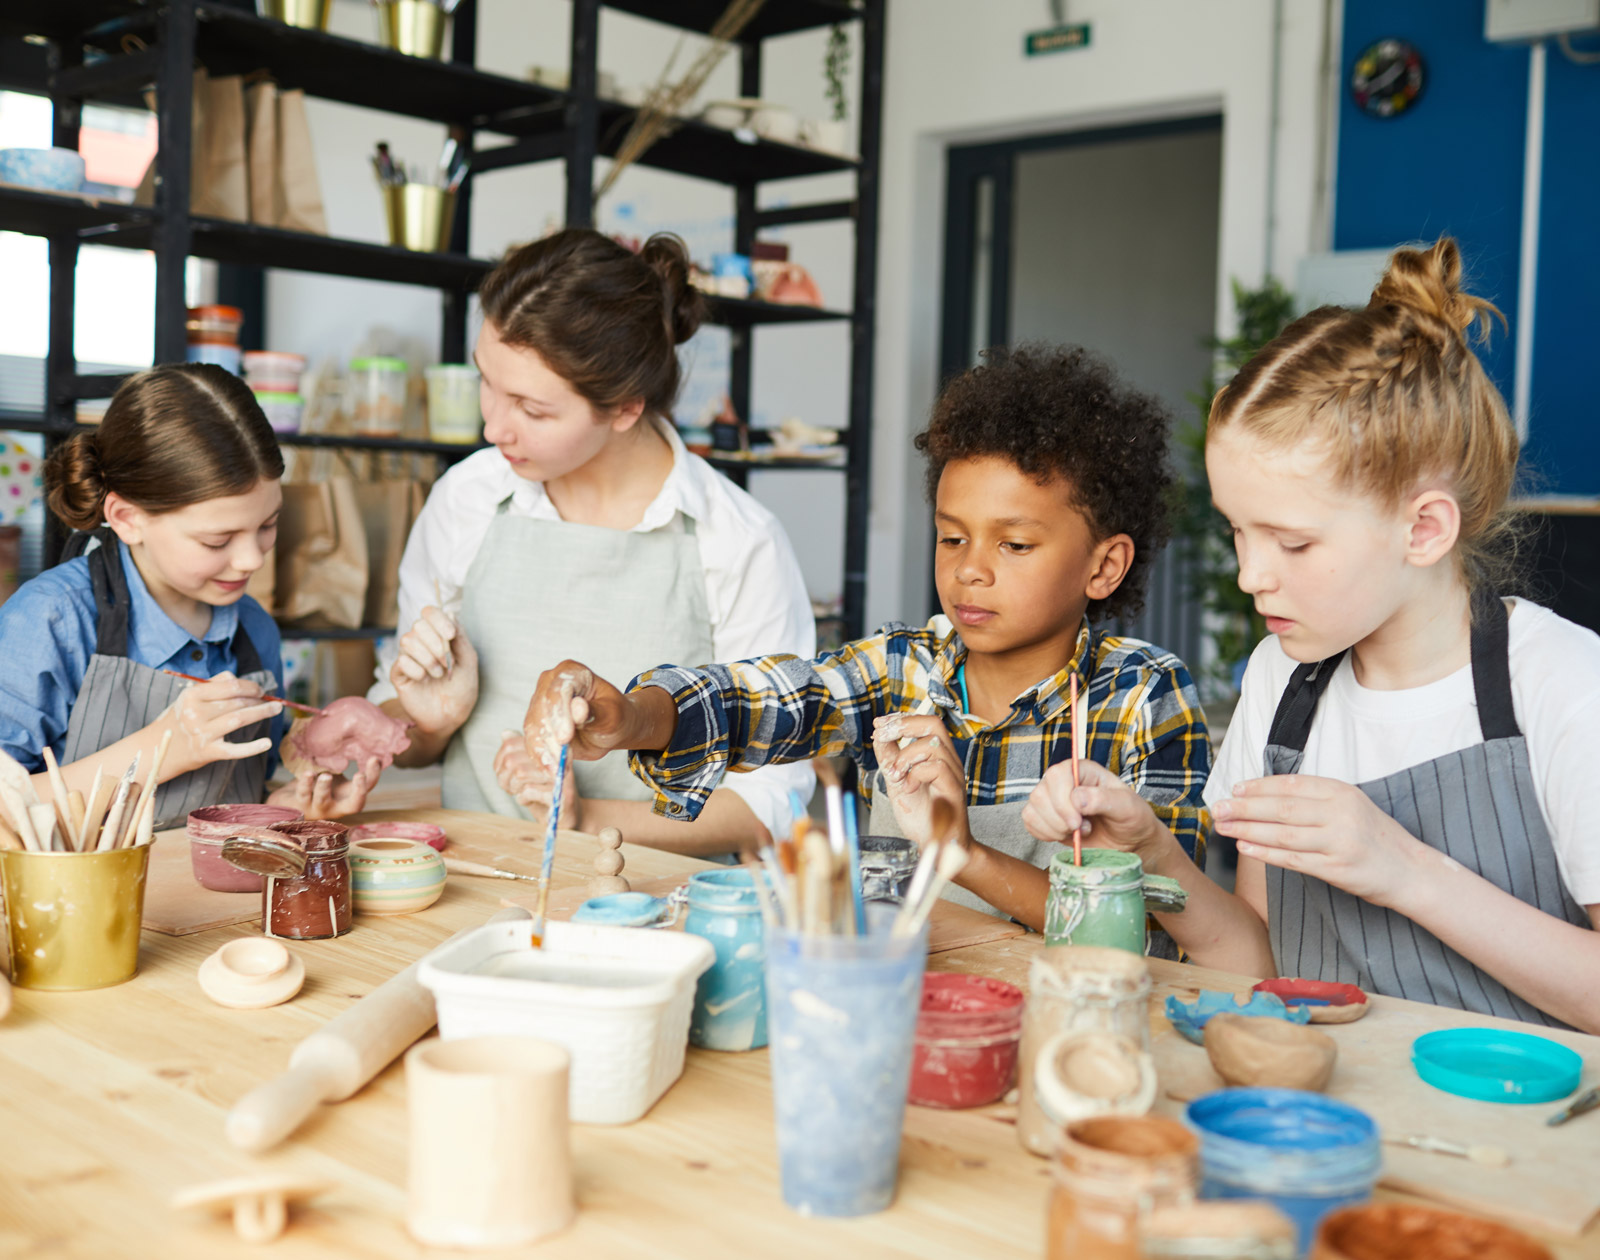
Go in with both eyes open if you are planning to work with clay with a group of children! A lot can go wrong but it can be unforgettable for them when it goes right.
Article
Clay is Dirt!
It dries, it does not set. So it does not harden like plaster, if exposed to water it will turn back into mud. Wet clay is "plastic" (as opposed to "elastic", it willingly assumes a new shape). Clay particles are very tiny and flat, shaped like stop signs. They behave like water magnets because they are electrically charged opposite to water. Dried clay is not very strong. But when baked in a kiln it turns into a rock! Buffstone is an inexpensive clay and is good for beginners because it has added bentonite to slow down drying. Later students could progress to a white burning clay like Snow (glazes look better on it) or a terracotta red burning one like L215 (pieces are stronger).
Firing the Pieces
Potters make stoneware, they work at about 2200°F (1200°C). Potters measure temperatures by cone numbers, 2200°F is cone 6. Most schools make earthenware and fire to about 1850°F (1000°C, that is cone 04). Kilns last longer and fire much easier at earthenware temperatures. Although it is possible to paint glazes on pieces that are only dried, for children it is far better to do a bisque firing first.
- Make sure pieces are dry before firing (the kiln also needs to remove water you cannot see).
- Automatic firing in most kilns controllers can be too fast. It is best to manually program your kiln so you know how fast it is heating (kilns generally program in degrees F). Program it to heat up to about 250°F and hold there for a few of hours, even overnight (to drive out all water) before continuing upward to 1850°F at about 300F/hr.
- Bisque to cone 04 (1920F). Pieces can be stacked in bisque firings.
This is what happens when a kiln is bisque fired too fast
In bisque kilns ware is being fired for the first time. If pieces are thick and the rate-of-rise is too fast then water (which is turning to steam) cannot escape fast enough. The internal pressure will fracture a piece like this that has not gone through a thermal drier. The schedule to fire this test brick was 150F/hr to 250 and hold 90, 200F/hr to 1640 no hold, 120F/hr to 1888 no hold. The fracture likely happened because the kiln schedule did not allocate enough hold time at 250°F or proceeded too fast to 1000°F. 250°F might sound like too high a temperature to do water smoking at because it is over boiling point, but in practice it does work in industrial kilns and driers with good airflow (which this kiln does not have).
Glazes
First decide if pieces need to be glazed. Glaze are mixes of powdered minerals, clays and glasses, they melt and produce a very durable surface. But if the children are just making decorative items it might be better to finish them using acryllic paint (after bisque firing).
Glazes are water suspensions of inert powders, they are not toxic to use. Glazes can be freely mixed like paint. Bottled brushing glazes can be quite expensive (e.g. $20-30 per 1-pint jar). As you get more experienced you might consider buying the powders and making your own in a blender (we have instructions). It is also possible to make buckets for dipping (we also have instructions for that).
Almost all glazes can be fired from cone 06 (1800°F or 980°C) to cone 04 (1920°F) - and even higher (note that at earthenware temperatures the cone numbers count backward up to zero). We find it is easiest to fire both bisque and glaze at cone 04, in this way a firing can contain a mix of pieces.
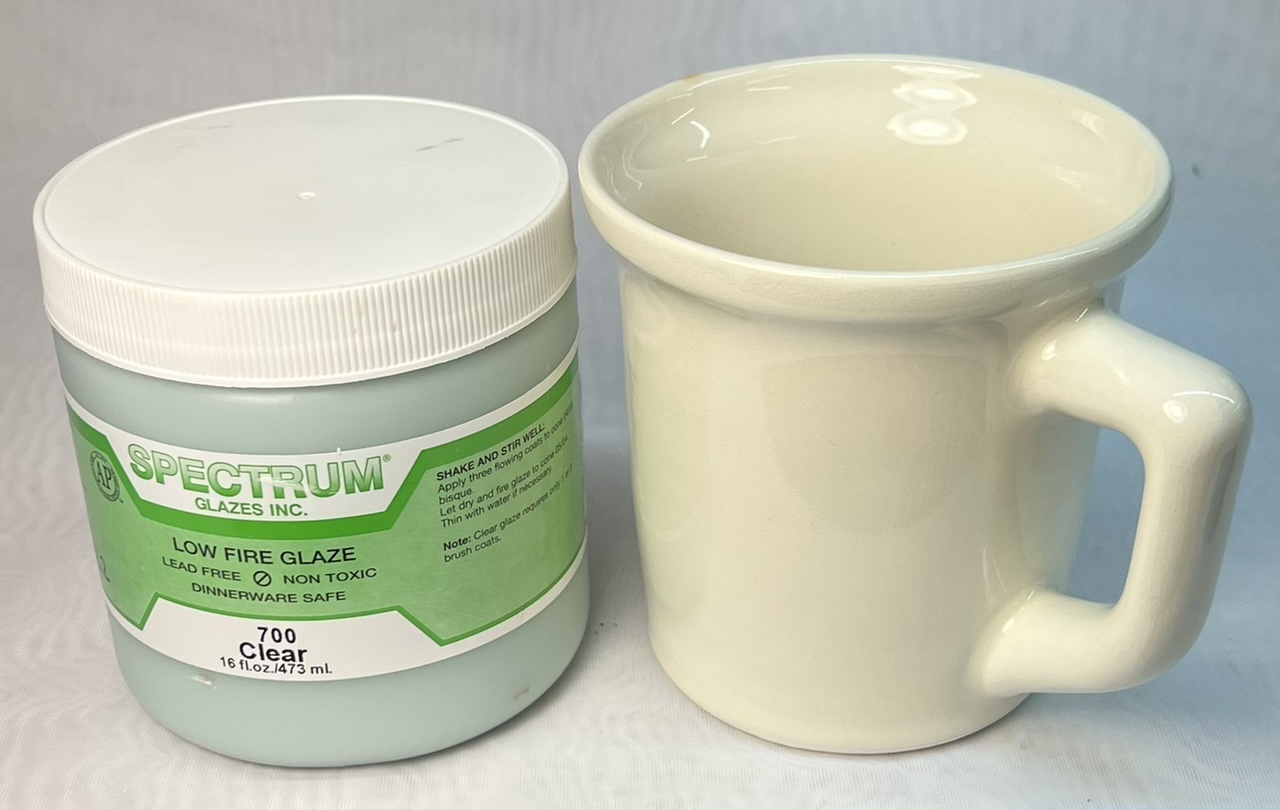
A commercial clear brushing glaze
- Note instructions/cautions on the glaze label. Add water if needed (even newly opened jars can be too thick). Apply in coats and let dry for each. Bisque-fired pieces are absorbent, so the layers will dry fairly quickly. It is better to paint on more thin coats than fewer thick ones, this gives more even coverage.
- Don't glaze the bottoms of pieces or they will glue to the shelf during firing. Sponge off any glaze that gets on the foot.
- Almost all glazes can be fired from cone 06-04 (04 is hotter).
- Getting a glaze on too thick could cause it to run during firing.
Safety
The hazard label: Clay is non-toxic, the label refers to silicosis. This happens when people breathe the dust over a period of many years (thus farmers, gardeners can get silicosis). Keep the floor clean.
Glazes: Use white or transparent glazes on food surfaces, brightly colored elsewhere.
Clay Shrinks When It Dries
Most clays shrink about 6%. So if one part of a piece dries (and shrinks first) then when the other part shrinks a crack will occur. In addition, because clays shrink pieces cannot be built around an armature and expected to dry on it (unless the armature can be removed).
- Dry things evenly (slow down fast-drying sections or speed up slow-drying ones).
- Drying things slowly usually means they dry more evenly (e.g. put a piece on a small board, drape a cloth over it and wrap it under the board). In wet climates pieces will dry much more slowly and also experience less cracking.
- To work on a piece again the next day, put it on a board, drape a cloth over it, put the whole thing it in a plastic bag and twist and fold the bag mouth under.
- Encourage the kids not to make things that are too thick or heavy. The more even thickness a piece is the easier it will be to dry it without cracks.
- If something needs to be made hollow it might be necessary to let it stiffen a little, cut it in half with a wire, hollow it out, then glue it back together with slip (see below).
Rolling Out Clay
It is best to flatten the clay as much as possible by hand first before trying to use a rolling pin (google "rolling clay slabs" for examples). Don't fold the clay when flattening it, it will crack on the folds. If you are doing a project (e.g. wrapping a slab around a form to make a cup or bowl) the students likely need a good slab. However, younger kids won't be capable of making one, the instructor may need to make these ahead of time, stacking them with plastic between them. Clay can be sticky, especially if it gets wet. Work on an absorbent surface (e.g. particle board, canvas board), no water is needed (that will just make a big mess).
Joining
"Slip" is used to join things (don't use water, it will cause splits). Slip is just the clay with extra water so it can be painted. Make it by crushing some bone-dry scrap clay (into pieces smaller than marbles), then put this in water. It will slake and settle on the bottom in a few minutes. Pour off the water and stir it. The thicker and more creamy it is the better. Or, flatten some clay in a small bowl, put a little water into it and stir it around with a brush to work up a thick creamy consistency.
Clay Dries Out if You Work To Long
Teach the children to plan what they want to make first. Then use a deliberate set of steps to achieve that. If they do not do this the clay will dry out too much as they work on it too long. Let them know it is OK to attempt a piece multiple times before they get success. Consider watching a few Youtube videos on handbuilding before introducing the clay to the class.
Inspiration
Google pictures for "clay animals", "clay houses" or "clay hand building". It is often a good idea to help the children make something they can use (like a bowl, plate or cup). Consider watching videos about ceramic masters to inspire the class (e.g. google "korean pottery masters", "Indian village potters", "African pottery").
Cleanup
Clays and glazes are all water based, insoluble and non-toxic. Glazes are not like paint, they dry like clay and can be rewetted, so they are easy to clean. Avoid putting clay or glaze slurries down the drain as the particles can settle in pipes. It is better to have a couple of pails of water and wash tools and boards using them. The particles will settle to the bottom. Just pour off the water the next day and either dispose of the mud or let it dry out and dispose of that.
Related Information
Using clay with children

This picture has its own page with more detail, click here to see it.
It is often said: "No good deed goes unpunished"! This can happen when doing a clay session with children. So there is a need to enter, with "both eyes open" to avoid a negative experience. If you can succeed they will get a unique tactile experience in a social setting. And they will experience the anticipation of waiting to see what the kiln will do with their creation. If the kiln gifts them a brightly colored durable piece, especially one that they can drink or eat out of, the experience and the object can stay with them for a lifetime. If you are an instructor inheriting a kiln and clay program for kids it can seem overwhelming, especially if your technical knowledge is limited. But there are some simple things you can do to assess the condition of the kiln in your facility and whether it is practical to attempt some clay sessions with the children in your trust. Click the link below to learn more.
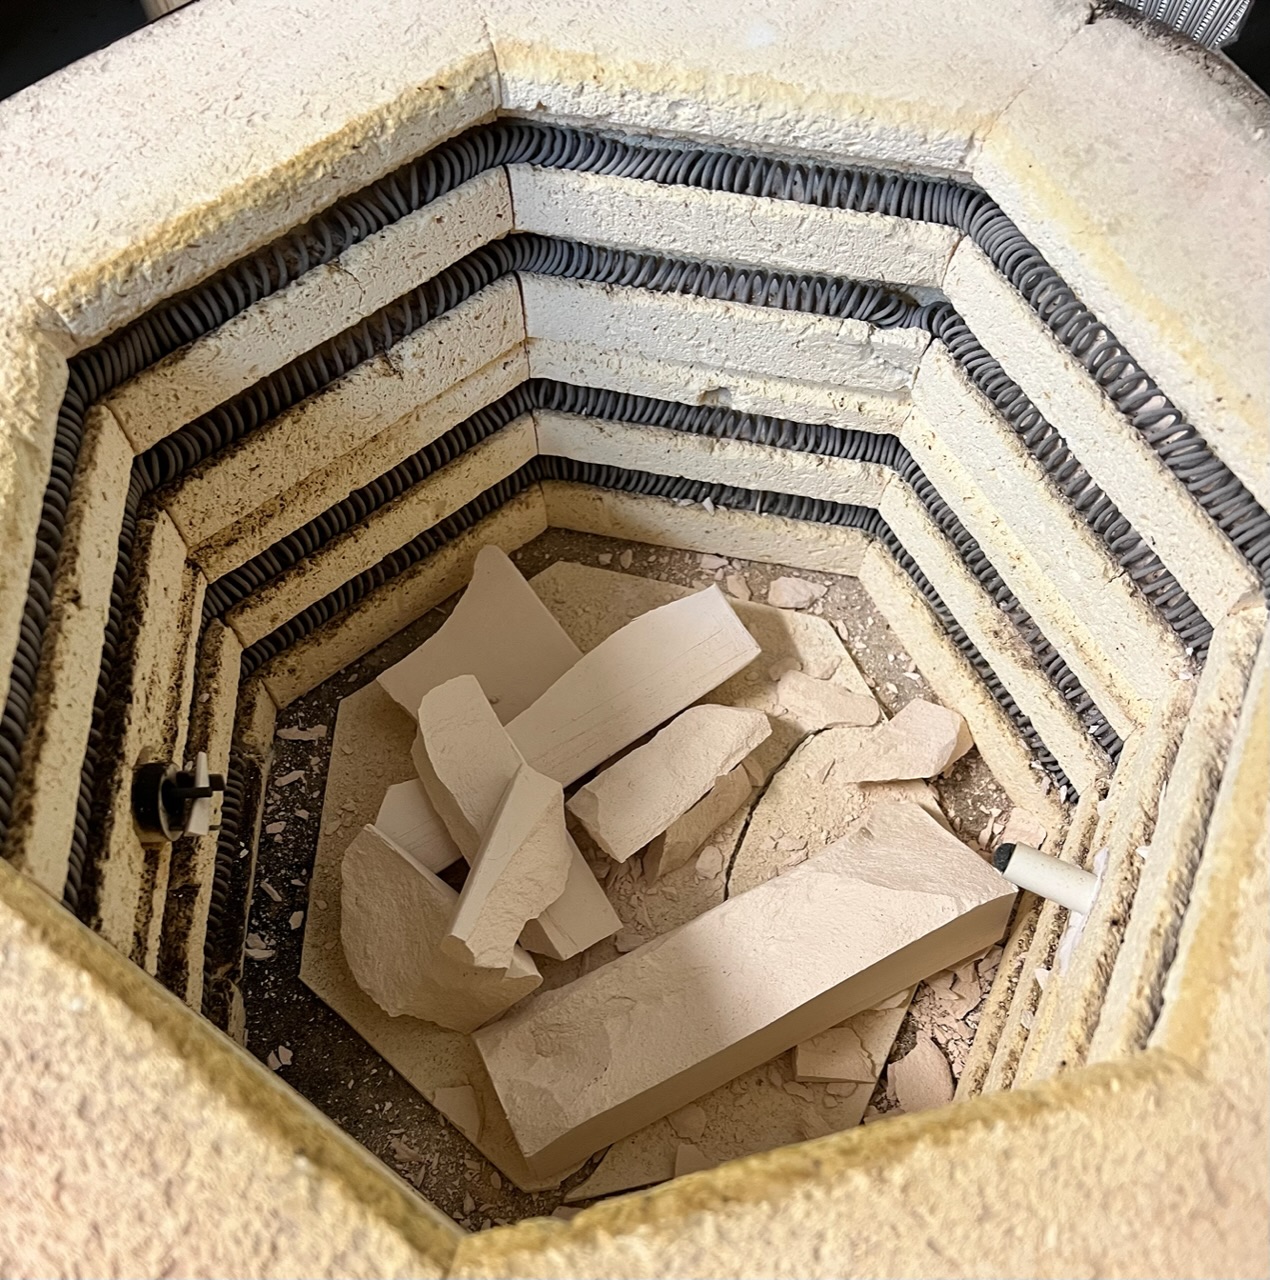
Do these kiln elements need replacing?

This picture has its own page with more detail, click here to see it.
This 12 inch test kiln has done 910 firings. The element loops are laying down and nearly touching each other. If they are not changed soon the coils will touch the kiln will have hot spots. And the coils are expanding and getting tighter in the grooves, the longer we wait the more the grooves will be damaged when removing them. Although elements seem expensive, when costed on a per/firing basis they can be surprisingly inexpensive. Most hobby kilns service two elements with each relay and relays generally need to be replaced more often than elements. Consider, for example, replacing the elements on a Skutt 818. Being a smaller kiln it is well-powered in relation to size and elements can last up to 1000 firings (assuming 50:50 bisque and cone 6 firings). It has 4 elements and 2 relays (relays cost $65/ea, elements $95 each). The labor to replace is ~4 hours or $250 - total cost is about $750 (that is ~75¢ per firing or 32¢ per ft³). How about a larger kiln? An 8 ft³ Model 1222 has 5 elements and 3 relays and replacement is ~$1100. But its elements are only likely to last 200 firings. That yields a per firing cost of ~$5 and per ft³ of 65¢. But there is a much greater cost to consider: Old elements increase power consumption. An 818 uses 6.4 kwH and a 1222 uses 11.5 kwH - at our electricity cost of 14¢/kwH a firing costs ~$7 for the small kiln and ~$13 for the large one. But that is the cost when elements are new. When they need changing those numbers can more than double! An additional cost of old elements is ware consistency, the kiln cannot execute the firing schedule in the time programmed and this will likely affect the appearance of bodies and glazes.
Are you using your expensive kiln like a pop-up toaster?

This picture has its own page with more detail, click here to see it.
Put the pots in, select a cone, press start. It is time to rethink that approach! The Bartlett Genesis kiln controller is standard equipment on hobby and production electric kilns now. It is not meant to be run like a toaster! Good glazes are about much more than recipes, they are about firing schedules. None of the built-in "toaster schedules" have hold times on any segments, drop-and-hold sequences or controlled cools. Or even fire-to-cone accuracy. Yet such are a must for defect-free glazes, enhancing the effects of reactive glazes that must develop crystallization or variegation or firing accurately. It is easy to program: Tap the blue edit button to edit a program, tap a column of any segment to edit its value. Tap a segment number to delete or duplicate it. Search "bartlett genesis controller" on YouTube for videos on creating and editing a schedule.
A modern electric test kiln, a marvel of utility

This picture has its own page with more detail, click here to see it.
This is a ConeArt 119D, 0.57 cu ft, 11"x9" cone 10 test kiln. While there is 120v model, don't take a chance, go with 220v (actually ours is 208v). Ours fires 1000 times on a set of elements, mostly in the cone 4-7 range. The old BX controller is shown here, it is $300 cheaper, but don’t even think about getting that! Do not use your electric like a pop-up toaster, make it a technological enabler of custom firing schedules, get the Genesis GX. Having good control of firing is a key to success, and this is superior for that. These kilns are economical to fire. Big enough for 5 mugs, but I typically fire a dozen clay and glaze test specimens. We make our own super-thin shelves. The controller holds about 20 schedules, even controllable remotely (it is Wi-Fi connected). We can fire cone 04 up and down in three hours! Of course, since this type of kiln can enable so much more testing, a code numbering system is needed - and a place to record and search all the results: An account at insight-live.com.
Links
| Articles |
Electric Hobby Kilns: What You Need to Know
Electric hobby kilns are certainly not up to the quality and capability of small industrial electric kilns, being aware of the limitations and keeping them in good repair is very important. |
| Articles |
Where do I start in understanding glazes?
Break your addiction to online recipes that don't work or bottled expensive glazes that you could DIY. Learn why glazes fire as they do. Why each material is used. How to create perfect dipping and brushing properties. Even some chemistry. |
 PayPal | No tracking, No ads, No paywall, No transient content! Just organized, concise information constantly updated and improved. Was this helpful? Consider supporting me. |
| By Tony Hansen Follow me on        |  |
Got a Question?
Buy me a coffee and we can talk 

https://digitalfire.com, All Rights Reserved
Privacy Policy